The StackGres operator can be installed via OperatorHub using the OLM (Operator Lifecycle Manager) that should already be installed in your Kubernetes cluster. On this page, we are going through all the necessary steps to set up a production-grade StackGres environment.
StackGres (the operator and associated components) may be installed by creating the namespace, an operator group, and a subscription.
cat << EOF | kubectl create -f -
apiVersion: v1
kind: Namespace
metadata:
  name: stackgres
---
apiVersion: operators.coreos.com/v1
kind: OperatorGroup
metadata:
  name: stackgres
  namespace: stackgres
---
apiVersion: operators.coreos.com/v1alpha1
kind: Subscription
metadata:
  name: stackgres
  namespace: stackgres
spec:
  channel: stable
  name: stackgres
  source: operatorhubio-catalog
  sourceNamespace: olm
  installPlanApproval: Manual
EOF
You can specify the version in the startingCSV field. For example, you may set it to
stackgres.v1.0.0to install version1.0.0.
The field installPlanApproval is set to Manual to prevent automatic upgrades of the operator in order to avoid having the operator upgraded before the StackGres custom resources are upgraded to the latest version (for more info see the upgrade section).
To proceed with the installation you will have to patch the InstallPlan that has been created by the OLM operator:
INSTALL_PLAN="$(kubectl get -n stackgres installplan -o name)"
kubectl patch -n stackgres "$INSTALL_PLAN" --type merge -p 'spec: { approved: true }'
kubectl wait -n stackgres "$INSTALL_PLAN" --for condition=Installed
The installation may take a few minutes.
Finally, the output will be similar to:
installplan.operators.coreos.com/install-66964 patched
installplan.operators.coreos.com/install-66964 condition met
Modify the configuration by patching the StackGres SGConfig
cat << EOF | kubectl patch -n stackgres sgconfig stackgres-operator --type merge -p "$(cat)"
spec:
  grafana:
    autoEmbed: true
    secretName: prometheus-operator-grafana
    secretNamespace: monitoring
    secretPasswordKey: admin-password
    secretUserKey: admin-user
    webHost: prometheus-operator-grafana.monitoring
  adminui:
    service:
      type: LoadBalancer
EOF
Or modify the configuration by patching the StackGres subscription and adding or modifying the environment variable SGCONFIG:
cat << EOF | kubectl patch -n stackgres subscription stackgres --type merge -p "$(cat)"
spec:
  config:
    env:
    - name: SGCONFIG
      value: |
        spec:
          grafana:
            autoEmbed: true
            secretName: prometheus-operator-grafana
            secretNamespace: monitoring
            secretPasswordKey: admin-password
            secretUserKey: admin-user
            webHost: prometheus-operator-grafana.monitoring
          adminui:
            service:
              type: LoadBalancer
EOF
You may also set other environment variables that control the operator behavior and that can not be set by modifying the SGConfig resource. See also the SGConfig reference documentation.
In some managed Kubernetes clusters and Kubernetes distributions a LoadBalancer may not be available, in such case replace
LoadBalancerwithNodePortand you will be able to connect directly to the node port that will be assigned to the service. To retrieve such port use the following command:
kubectl get service -n stackgres stackgres-restapi --template '{{ (index .spec.ports 0).nodePort }}{{ printf "\n" }}'
On OpenShift 4.x, the operator will be installed in the openshift-operators namespace so make sure to replace stackgres with openshift-operators in all the commands of this tutorial.
Since in OpenShift the namespace openshift-operators is already created you only need to create the Subscription:
cat << EOF | kubectl create -f -
apiVersion: operators.coreos.com/v1alpha1
kind: Subscription
metadata:
name: stackgres
namespace: openshift-operators
spec:
channel: stable
name: stackgres
source: redhat-marketplace
sourceNamespace: openshift-marketplace
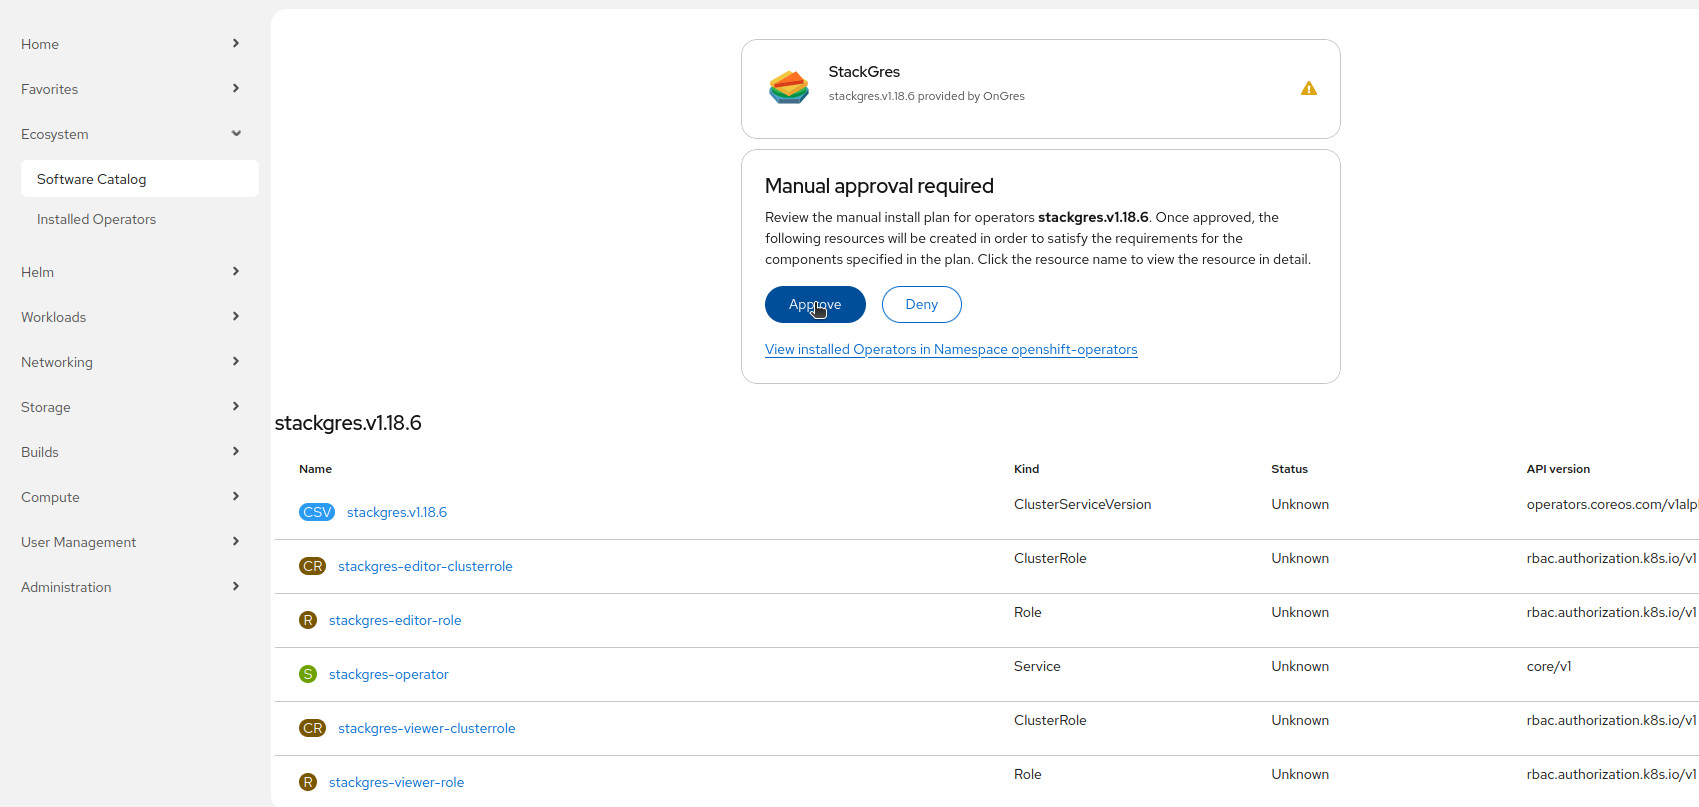
installPlanApproval: Manual
EOF
To proceed with the installation follow the same steps as already explained in the Installation via OperatorHub but replacing the namespace with openshift-operators:
INSTALL_PLAN="$(kubectl get -n openshift-operators installplan -o name)"
kubectl patch -n openshift-operators "$INSTALL_PLAN" --type merge -p 'spec: { approved: true }'
kubectl wait -n openshift-operators "$INSTALL_PLAN" --for condition=Installed
Finally, the output will be similar to:
installplan.operators.coreos.com/install-66964 condition met
Modify the configuration by patching the StackGres SGConfig
cat << EOF | kubectl patch -n openshift-operators sgconfig stackgres-operator --type merge -p "$(cat)"
spec:
  grafana:
    autoEmbed: true
    secretName: prometheus-operator-grafana
    secretNamespace: monitoring
    secretPasswordKey: admin-password
    secretUserKey: admin-user
    webHost: prometheus-operator-grafana.monitoring
  adminui:
    service:
      type: LoadBalancer
EOF
Or modify the configuration by patching the StackGres subscription and adding or modifying the environment variable SGCONFIG:
cat << EOF | kubectl patch -n openshift-operators subscription stackgres --type merge -p "$(cat)"
spec:
  config:
    env:
    - name: SGCONFIG
      value: |
        spec:
          grafana:
            autoEmbed: true
            secretName: prometheus-operator-grafana
            secretNamespace: monitoring
            secretPasswordKey: admin-password
            secretUserKey: admin-user
            webHost: prometheus-operator-grafana.monitoring
          adminui:
            service:
              type: LoadBalancer
EOF
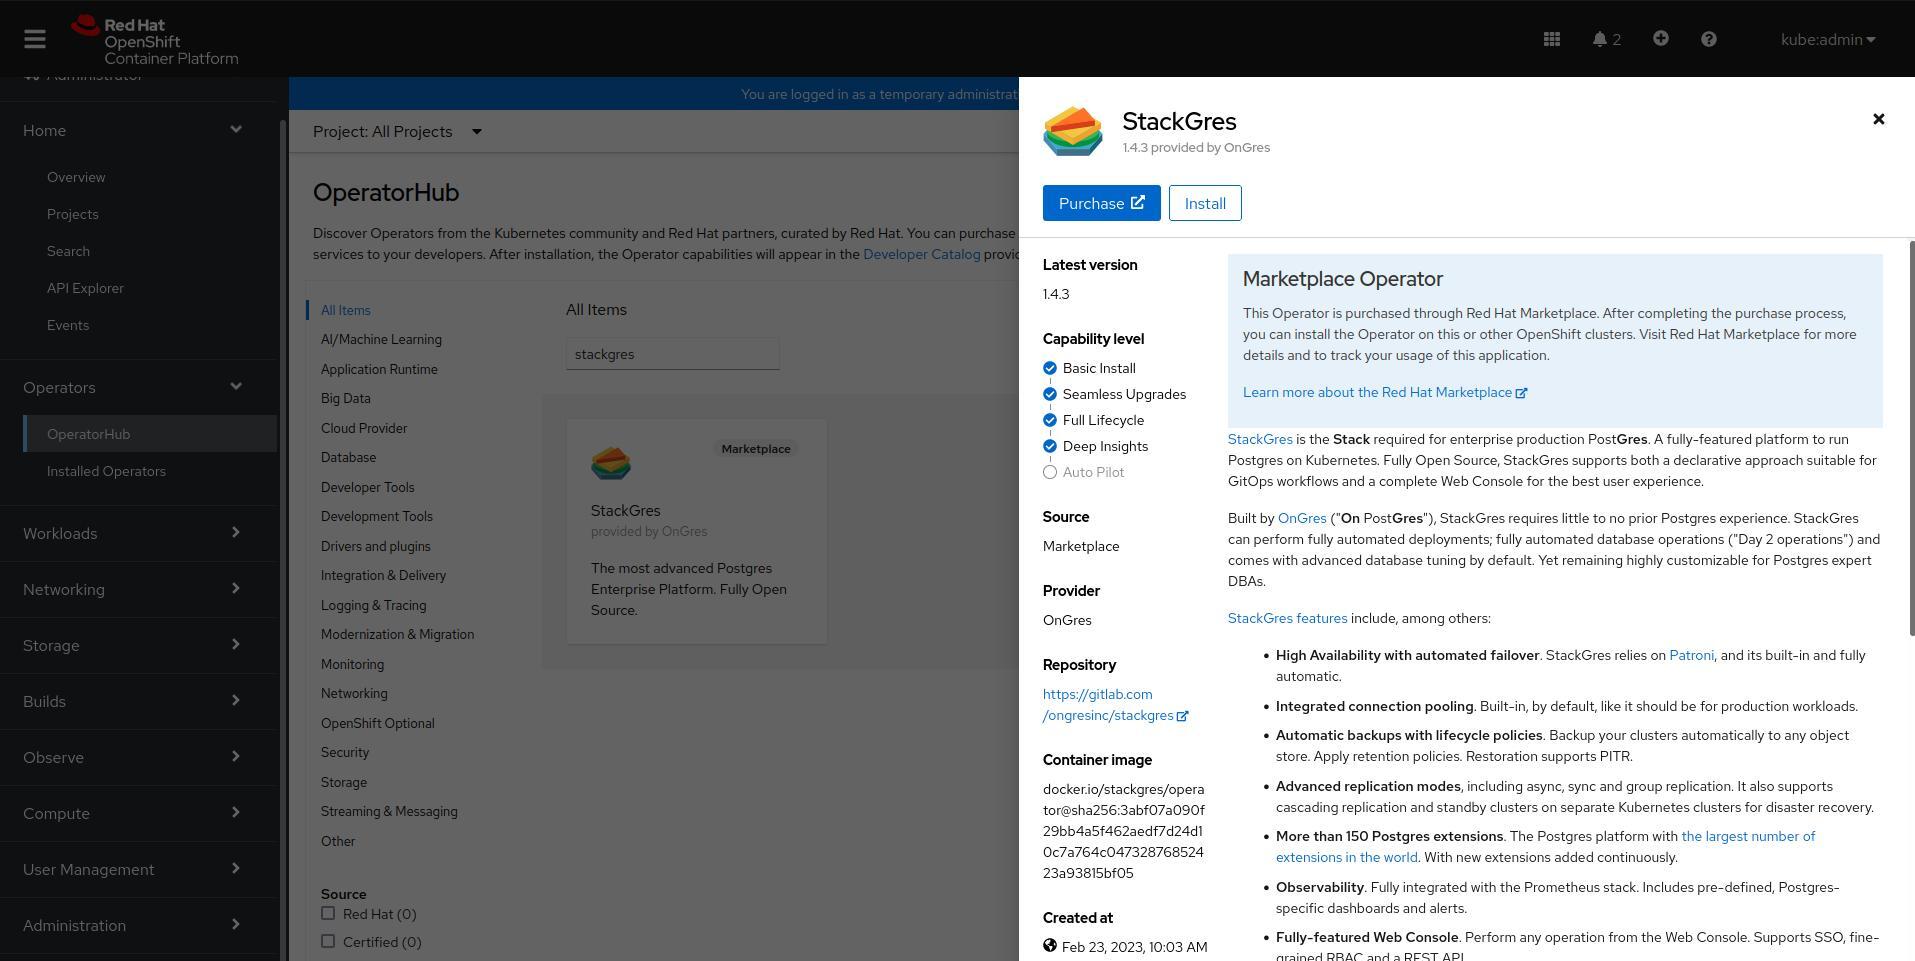
Alternatively you may install the StackGres Operator from the OpenShift Web Console by following these steps:
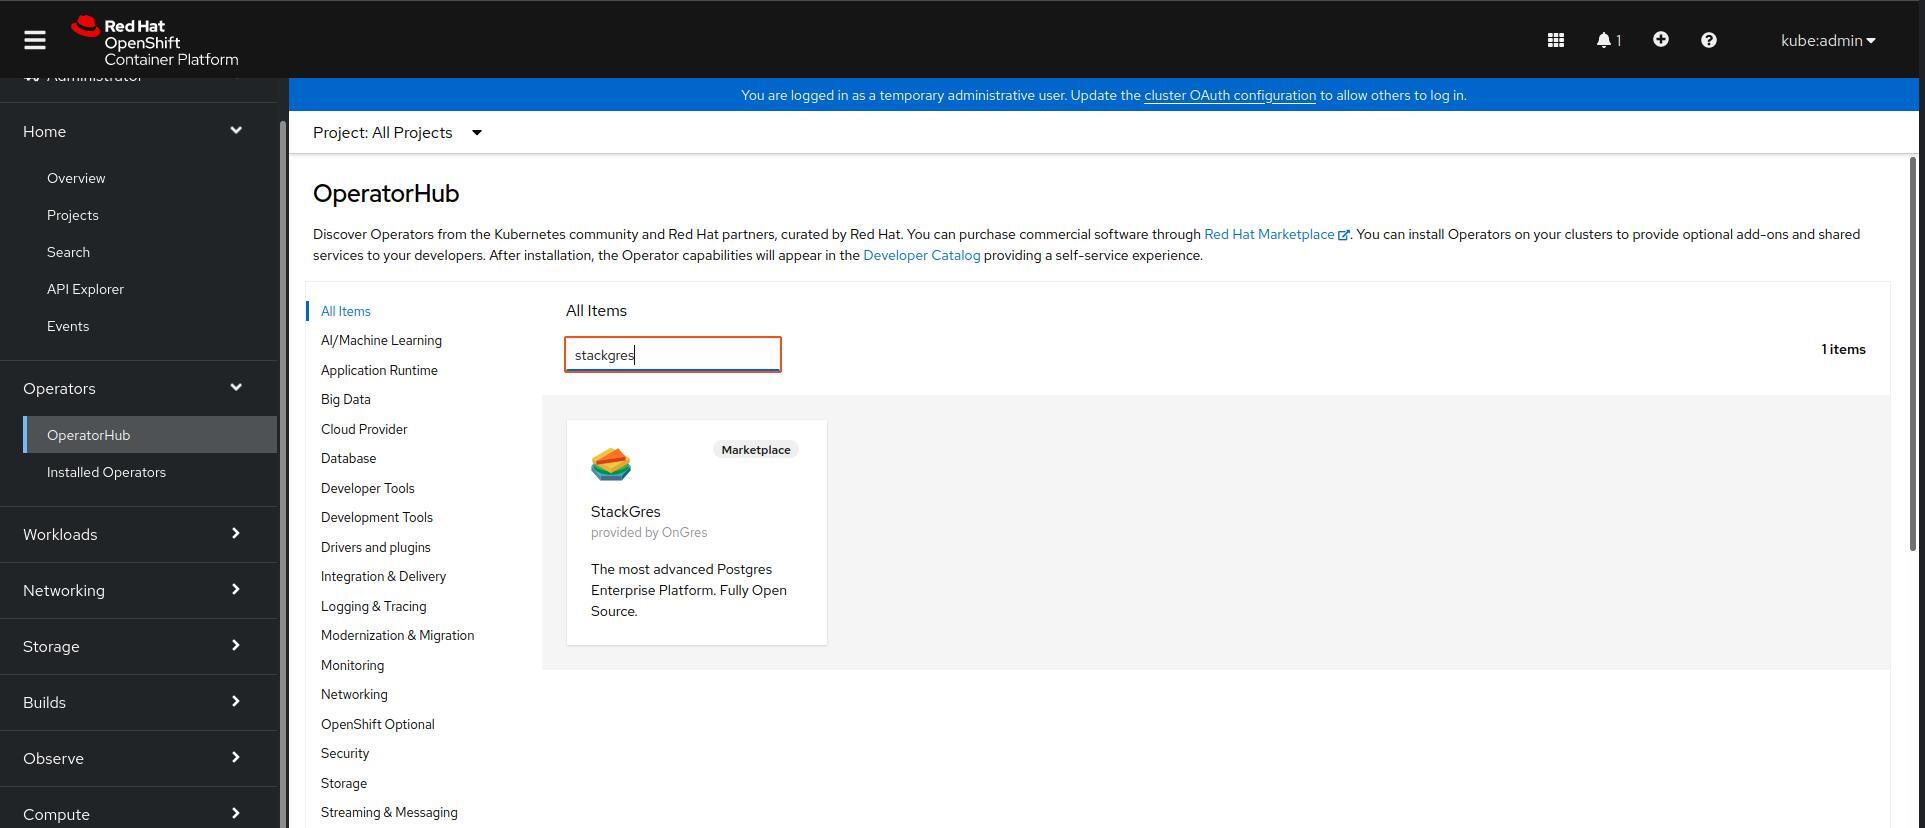


When installing the operator you may chose to install it globally or scoped to a set of namespaces using OperatorGroup.
In some cases you may need to migrate from a global operator installation to a scoped operator installation. The operation is as easy as uninstalling the global operator and re-installing it as a scoped operator. Before proceeding make sure to create a backup of the Subscription YAML in order to be able to recover the config section when re-installing it.
IMPORTANT If the namespace of the scoped operator installation changed you MUST also remove the
SGConfigresource present in the namespace of the global operator before the uninstallation of the global operator.
Follow the same steps as explained in the Migrate from global to scoped installation section.

IMPORTANT If the namespace of the scoped operator installation changed you MUST also remove the
SGConfigresource present in the namespace of the global operator before the uninstallation of the global operator.